Android login registration with PHP MySQL – Here, I share with you how to connect android with PHP & MySQL in on e example like Login and Registration form. This is very simple example so everyone easily develop this tutorial without any error. You have just follow my tutorial to connect PHP & MySQL and make with example of registration form.
Actually Login and Sign up form is mandatory for every websites. So new learners are in the initial time, looking for perfect error free tutorial for how make login & registration form with help of database. And here we are using MySQL database for store the user values.
Moreover you can choose any type of database like Firebase, SQLite etc. But MySQL & Firebase is perfect for large scale web & mobile application project. Suppose if you are beginner in Android ? Don’t worry and never lose your hope to continue learning process steps. Actually Login form & Signup page is very mandatory to create any type of application. So clearly learn how to develop any type of authentication with textbox, mobile number, address bar, validation and more.

I have already launch one article for connect PHP MySQL with user registration form but that’s not android studio, the platform is PhoneGap. But the both are same way to make android app. In other article I will explain how validate android forms.
Similarly with help of framework we easily create hybrid mobile application. Through this we able to save our time, cost and no technical knowledge required for do this application. You could be make hybrid application using PhoneGap so this is one of the advantage in PhoneGap platform. The article is Login Registration PhoneGap using PHP MySQL.
Android Login Registration form PHP MySQL
Let’s start our tutorial to connect PHP MySQL and make an registration form. First you have to create PHP file for connect the database and registration form. Create the PHP file and uploaded in server. We have directly call from the php file server. So you have first complete the PHP & MySQL code then move on the Android code.
Want to make money online from the Earn Money Trusted Website $3 per Day.
Develop PHP & MySQL code
Now create one config.php file then write the code of PHP MySQL connectivity. The code is look like,
<?php
define('DB_SERVER','localhost');
define('DB_USER','root');
define('DB_PASS' ,'vetri');
define('DB_NAME', 'registration');
$conn = mysql_connect(DB_SERVER,DB_USER,DB_PASS) or die('localhost connection problem'.mysql_error());
mysql_select_db(DB_NAME, $conn);
?>
After connecting database, create registration form and connect the configuration file. Then create the registration.php file and write the registration code in php. The code is look like,
<?php
include_once("config.php");
if(isset($_POST['submit']))
{
	$name=$_POST['name'];
	$email=$_POST['email'];
	$password=$_POST['password'];
        $mobile=$_POST['mobile'];
	$query=mysql_query("insert into userregistration(name,email,password,mobile,activationcode,status) values('$name','$email','$password','$mobile','$activationcode','$status')");
	if($query)
	{
echo "<script>alert('Successfully Registered');</script>";
 echo "<script>window.location = 'index.php';</script>";;
	}
	else
	{
	echo "<script>alert('Data not inserted');</script>";
	}
}
 ?>
<!DOCTYPE html>
<html lang="en">
 <body style="background-color:#2ecc71">
<div class="container-fluid">
  <div class="col-sm-6">
    <div class="row">
      <div class="col-xs-12">
        <form name="insert" action="" method="post">
     <table width="100%"  border="0">
    <tr>
    <th height="62" scope="row">Name </th>
    <td width="71%"><input type="text" name="name" id="name" value=""  class="form-control" required /></td>
  </tr>
  <tr>
    <th height="62" scope="row">Email id </th>
    <td width="71%"><input type="email" name="email" id="email" value=""  class="form-control" required /></td>
  </tr>
  <tr>
    <th height="62" scope="row">Password </th>
    <td width="71%"><input type="password" name="password" id="password" value=""  class="form-control" required /></td>
  </tr>
<tr>
    <th height="62" scope="row">Mobile Number </th>
    <td width="71%"><input type="text" name="mobile" id="mobile" value=""  class="form-control" required /></td>
  </tr>
 <tr>
    <th height="62" scope="row"></th>
    <td width="71%"><input type="submit" name="submit" value="Submit" class="btn-group-sm" /> </td>
  </tr>
</table>
 </form>
      </div>
    </div>
  </div>
</div>
	</body>
</html>
Now you have upload these files in server and call from android code to perform the registration form. Below i have include the files so you have click to download the PHP files and uploaded from server.
Android Development code
Now time to move on the android code development. We have already complete the PHP code so now just call the PHP code from server. To read more Android Project & articles learn more about this.
Create New Android Project
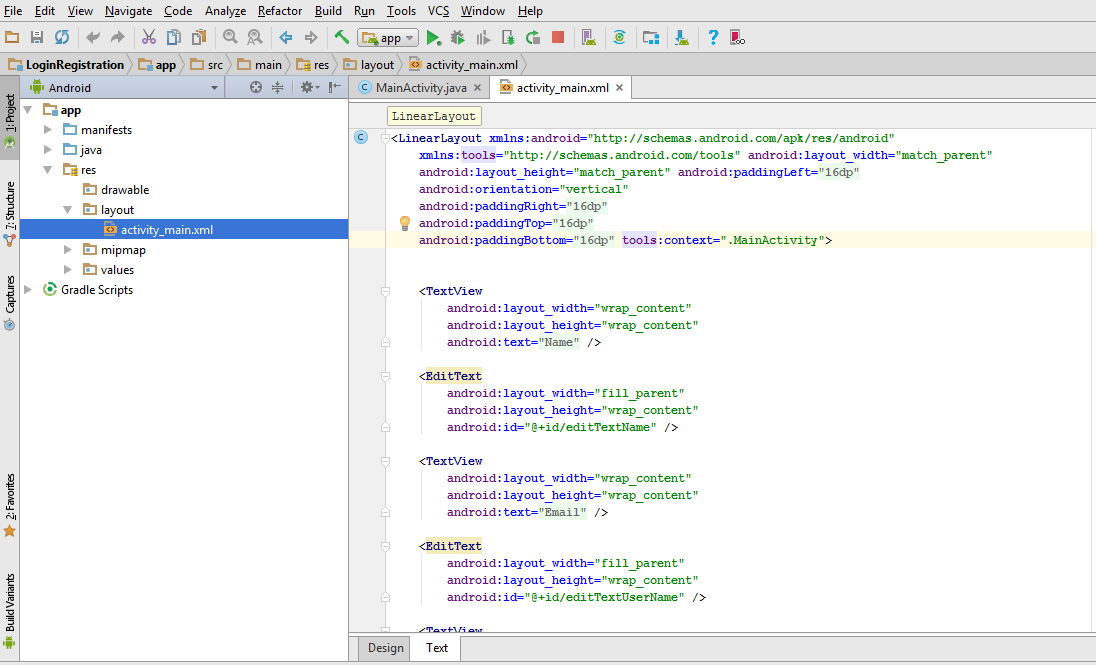
First create new android project then open the activity_main.xml and replace the below code.
The activity_main.xml file look like,
<LinearLayout xmlns:android="http://schemas.android.com/apk/res/android"
    xmlns:tools="http://schemas.android.com/tools" android:layout_width="match_parent"
    android:layout_height="match_parent" android:paddingLeft="@dimen/activity_horizontal_margin"
    android:orientation="vertical"
    android:paddingRight="@dimen/activity_horizontal_margin"
    android:paddingTop="@dimen/activity_vertical_margin"
    android:paddingBottom="@dimen/activity_vertical_margin" tools:context=".MainActivity">


    <TextView
        android:layout_width="wrap_content"
        android:layout_height="wrap_content"
        android:text="@string/string_enter_name" />

    <EditText
        android:layout_width="fill_parent"
        android:layout_height="wrap_content"
        android:id="@+id/editTextName" />

    <TextView
        android:layout_width="wrap_content"
        android:layout_height="wrap_content"
        android:text="@string/string_choose_username" />

    <EditText
        android:layout_width="fill_parent"
        android:layout_height="wrap_content"
        android:id="@+id/editTextUserName" />

    <TextView
        android:layout_width="wrap_content"
        android:layout_height="wrap_content"
        android:text="@string/string_choose_password" />

    <EditText
        android:layout_width="fill_parent"
        android:layout_height="wrap_content"
        android:inputType="textPassword"
        android:id="@+id/editTextPassword" />

    <TextView
        android:layout_width="wrap_content"
        android:layout_height="wrap_content"
        android:text="@string/string_enter_email" />

    <EditText
        android:layout_width="fill_parent"
        android:layout_height="wrap_content"
        android:inputType="textEmailAddress"
        android:id="@+id/editTextEmail" />

    <Button
        android:layout_width="fill_parent"
        android:layout_height="wrap_content"
        android:text="@string/button_register"
        android:id="@+id/buttonRegister" />

</LinearLayout>
Its look like,
Then move on the MainActivity.java file and replace the following code. The code is,
package in.vetbossel.loginregistration;

import android.app.ProgressDialog;
import android.os.AsyncTask;
import android.support.v7.app.AppCompatActivity;
import android.os.Bundle;
import android.view.Menu;
import android.view.MenuItem;
import android.view.View;
import android.widget.Button;
import android.widget.EditText;
import android.widget.Toast;

import java.io.BufferedReader;
import java.io.InputStreamReader;
import java.net.HttpURLConnection;
import java.net.URL;

public class MainActivity extends AppCompatActivity implements View.OnClickListener{

    private EditText editTextName;
    private EditText editTextUsername;
    private EditText editTextPassword;
    private EditText editTextEmail;

    private Button buttonRegister;

    private static final String REGISTER_URL = "htt://demos.vetbossel.in/user-registration/index.php";


    @Override
    protected void onCreate(Bundle savedInstanceState) {
        super.onCreate(savedInstanceState);
        setContentView(R.layout.activity_main);

        editTextName = (EditText) findViewById(R.id.editTextName);
        editTextEmail = (EditText) findViewById(R.id.editTextEmail);
        editTextPassword = (EditText) findViewById(R.id.editTextPassword);
        editTextMobile = (EditText) findViewById(R.id.editTextMobile);


        buttonRegister = (Button) findViewById(R.id.buttonRegister);

        buttonRegister.setOnClickListener(this);
    }

    @Override
    public void onClick(View v) {
        if(v == buttonRegister){
            registerUser();
        }
    }

    private void registerUser() {
        String name = editTextName.getText().toString().trim().toLowerCase();
        String username = editTextUsername.getText().toString().trim().toLowerCase();
        String password = editTextPassword.getText().toString().trim().toLowerCase();
        String email = editTextEmail.getText().toString().trim().toLowerCase();

        register(name,username,password,email);
    }

    private void register(String name, String username, String password, String email) {
        String urlSuffix = "?name="+name+"&username="+username+"&password="+password+"&email="+email;
        class RegisterUser extends AsyncTask<String, Void, String>{

            ProgressDialog loading;


            @Override
            protected void onPreExecute() {
                super.onPreExecute();
                loading = ProgressDialog.show(MainActivity.this, "Please Wait",null, true, true);
            }

            @Override
            protected void onPostExecute(String s) {
                super.onPostExecute(s);
                loading.dismiss();
                Toast.makeText(getApplicationContext(),s,Toast.LENGTH_LONG).show();
            }

            @Override
            protected String doInBackground(String... params) {
                String s = params[0];
                BufferedReader bufferedReader = null;
                try {
                    URL url = new URL(REGISTER_URL+s);
                    HttpURLConnection con = (HttpURLConnection) url.openConnection();
                    bufferedReader = new BufferedReader(new InputStreamReader(con.getInputStream()));

                    String result;

                    result = bufferedReader.readLine();

                    return result;
                }catch(Exception e){
                    return null;
                }
            }
        }

        RegisterUser ru = new RegisterUser();
        ru.execute(urlSuffix);
    }
}
Its look like,

Then add the internet permission in AndroidManifest.xml file.
<?xml version="1.0" encoding="utf-8"?>
<manifest xmlns:android="http://schemas.android.com/apk/res/android"
    package="in.vetbossel.loginregistration">

    <uses-permission android:name="android.permission.INTERNET" />

    <application
        android:allowBackup="true"
        android:icon="@mipmap/ic_launcher"
        android:label="@string/app_name"
        android:supportsRtl="true"
        android:theme="@style/AppTheme">
        <activity android:name=".MainActivity">
            <intent-filter>
                <action android:name="android.intent.action.MAIN" />

                <category android:name="android.intent.category.LAUNCHER" />
            </intent-filter>
        </activity>
    </application>

</manifest>
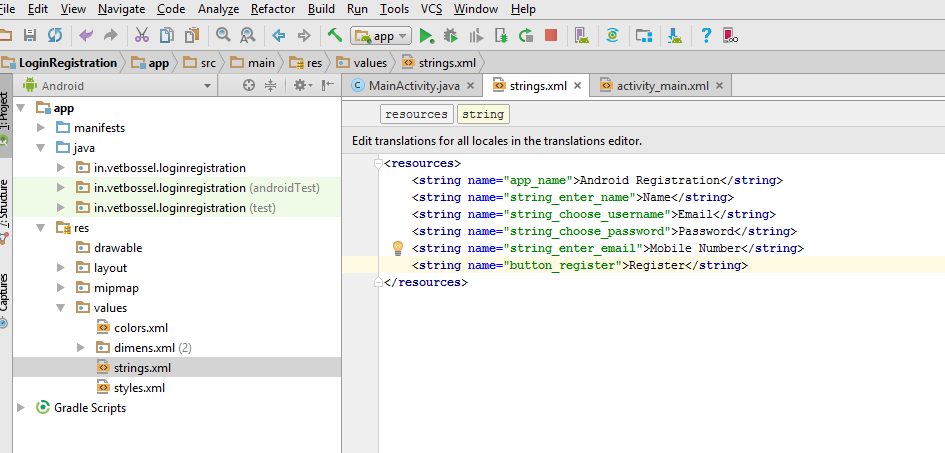
Finally add the label name in strings.xml. The code is
<resources>
    <string name="app_name">Android Registration</string>
    <string name="string_enter_name">Name</string>
    <string name="string_choose_username">Email</string>
    <string name="string_choose_password">Password</string>
    <string name="string_enter_email">Mobile Number</string>
    <string name="button_register">Register</string>
</resources>
Its look like,
that’s it.
Execute Application – Android Login Registration Form PHP MySQL
Now time to run your application in android emulator or other Virtual Device. I have used Genymotion and the output like. If you are facing any issues just contact us for clear your problem within a days. Because we are always online to help our reader.
