Employee directory application in android – Here, I share with you how to develop employee directory application in android using react native framework. React is a javascript library developed by facebook team, Its used for develop native mobile application. Nowadays most of application provide this service because employees are busy to manage the data from file.
So with help of some application we easily manage all of data without losing from any kind of situation. Here I simply explain how create employee directory application in Android Studio platform using Java program.
Suppose if you are expert in Java, then you can do more things. It’s only perfect for beginner developer who are initial stage of android language. For that you need strong knowledge in the particular domain for expose more features.

I hope above screenshot clear your doubts. Moreover you can see more output file on end of the article. For the proof here I added this file only after that check file in upcoming sections. If you don’t have any idea about React Native just read the official documentation here
Employee Directory Application in Android
Actually, this is most developers & students requested application. Because everyone needs to maintain employee details who have own company or other things. This is one of the reason to here i have develop the employee directory application in android studio.
We need node.js to execute the application, so just install node.js in here
Start the Application
After download the Node.js, you have to move on react native to create employee directory application.
1. Open command prompt
2. Type npm install -g react-native-cli
Now the react native is installed in your system. Hereafter create new project,
3.Create new project: react-native init Employee-Directory
now the react native project is successfully created, and it will show the two mobile OS like iOS & Android. Its like
To run your app on iOS:
   cd C:UsersVETRIDesktopmyFirstProject
   react-native run-ios
   - or -
   Open iosmyFirstProject.xcodeproj in Xcode
   Hit the Run button
To run your app on Android:
   cd C:UsersVETRIDesktopmyFirstProject
   Have an Android emulator running (quickest way to get started), or a device connected
   react-native run-android
Now we need Android platform so just choose that. Suppose if you have MAC then just move iOS its really better than Android.
Open Android Studio
1. Open Android Studio, File->New->Import Project
2. Open Android folder in your project and copy the path
3. Then just open that Android folder in Android Studio.
Create files for Employee Directory
We have complete all other steps to execute the application. So now start to develop the code, first create employeelist.js file. The code is like
import React, {Component} from 'react';
import {View, ListView, StyleSheet} from 'react-native';
import SearchBar from './SearchBar';
import EmployeeListItem from './EmployeeListItem';
import * as employeeService from './services/employee-service-mock';

export default class EmployeeList extends Component {

    constructor(props) {
        super(props);
        this.state = {dataSource: new ListView.DataSource({rowHasChanged: (r1, r2) => r1 !== r2})};
        employeeService.findAll().then(employees => {
            this.setState({
                dataSource: this.state.dataSource.cloneWithRows(employees)
            });
        });
    }

    search(key) {
        employeeService.findByName(key).then(employees => {
            this.setState({
                dataSource: this.state.dataSource.cloneWithRows(employees)
            });
        });
    }

    render() {
        return (
            <ListView style={styles.container}
                      dataSource={this.state.dataSource}
                      enableEmptySections={true}
                      renderRow={(data) => <EmployeeListItem navigator={this.props.navigator} data={data} />}
                      renderSeparator={(sectionId, rowId) => <View key={rowId} style={styles.separator} />}
                      renderHeader={() => <SearchBar onChange={this.search.bind(this)} />}
            />
        );
    }
}

const styles = StyleSheet.create({
    container: {
        backgroundColor: '#FFFFFF',
        marginTop: 60
    },
    separator: {
        height: StyleSheet.hairlineWidth,
        backgroundColor: '#AAAAAA',
    }
});
Hereafter, create employee-details.js. The code is,
import React, {Component} from 'react';
import { View, ListView, Text, Image, StyleSheet, TouchableOpacity } from 'react-native';
import ActionBar from './ActionBar';
import EmployeeListItem from './EmployeeListItem';
import * as employeeService from './services/employee-service-mock';

export default class EmployeeDetails extends Component {

    constructor(props) {
        super(props);
        this.state = {dataSource: new ListView.DataSource({rowHasChanged: (r1, r2) => r1 !== r2})};
        employeeService.findById(this.props.data.id).then(employee => {
            this.setState({
                employee: employee,
                dataSource: this.state.dataSource.cloneWithRows(employee.reports)
            });
        });
    }

    openManager() {
        this.props.navigator.push({name: 'details', data: this.state.employee.manager});
    }

    render() {
        if (this.state && this.state.employee) {
            let employee = this.state.employee;
            let manager;
            if (employee.manager) {
                manager = <TouchableOpacity style={styles.manager} onPress={this.openManager.bind(this)}>
                            <Image source={{uri: employee.manager.picture}} style={styles.smallPicture} />
                            <Text style={styles.lightText}>{employee.manager.firstName} {employee.manager.lastName}</Text>
                            <Text style={styles.lightText}>{employee.manager.title}</Text>
                          </TouchableOpacity>;
            }
            let directReports;
            if (employee.reports && employee.reports.length > 0) {
                directReports =
                    <ListView style={styles.list}
                              dataSource={this.state.dataSource}
                              enableEmptySections={true}
                              renderRow={(data) => <EmployeeListItem navigator={this.props.navigator} data={data} />}
                              renderSeparator={(sectionId, rowId) => <View key={rowId} style={styles.separator} />}
                    />;
            } else {
                directReports = <View style={styles.emptyList}><Text style={styles.lightText}>No direct reports</Text></View>;
            }
            return (
                <View style={styles.container}>
                    <View style={styles.header}>
                        {manager}
                        <Image source={{uri: employee.picture}} style={styles.picture} />
                        <Text style={styles.bigText}>{employee.firstName} {employee.lastName}</Text>
                        <Text style={[styles.mediumText, styles.lightText]}>{employee.title}</Text>
                        <ActionBar mobilePhone={employee.mobilePhone} email={employee.email} />
                    </View>
                    {directReports}
                </View>
            );
        } else {
            return null;
        }
    }
}

const styles = StyleSheet.create({
    container: {
        marginTop: 60,
        backgroundColor: '#FFFFFF',
        flex: 1
    },
    header: {
        alignItems: 'center',
        backgroundColor: '#FAFAFF',
        paddingBottom: 4,
        borderBottomColor: '#F2F2F7',
        borderBottomWidth: StyleSheet.hairlineWidth
    },
    manager: {
        paddingBottom: 10,
        alignItems: 'center'
    },
    picture: {
        width: 80,
        height: 80,
        borderRadius: 40
    },
    smallPicture: {
        width: 40,
        height: 40,
        borderRadius: 20
    },
    mediumText: {
        fontSize: 16,
    },
    bigText: {
        fontSize: 20
    },
    separator: {
        height: StyleSheet.hairlineWidth,
        backgroundColor: '#AAAAAA',
    },
    list: {
        flex: 1,
    },
    emptyList: {
        flex: 1,
        justifyContent: 'center',
        alignItems: 'center'
    },
    lightText: {
        color: '#C7C7CC'
    }
});
You have edit this file (.js) normal editor like sublime text don’t risk to edit the code in android studio.
Complete Source Code
I would like to explain all the code in this article, but no space to explain that so here i have include complete source code Download File.
Test the Application
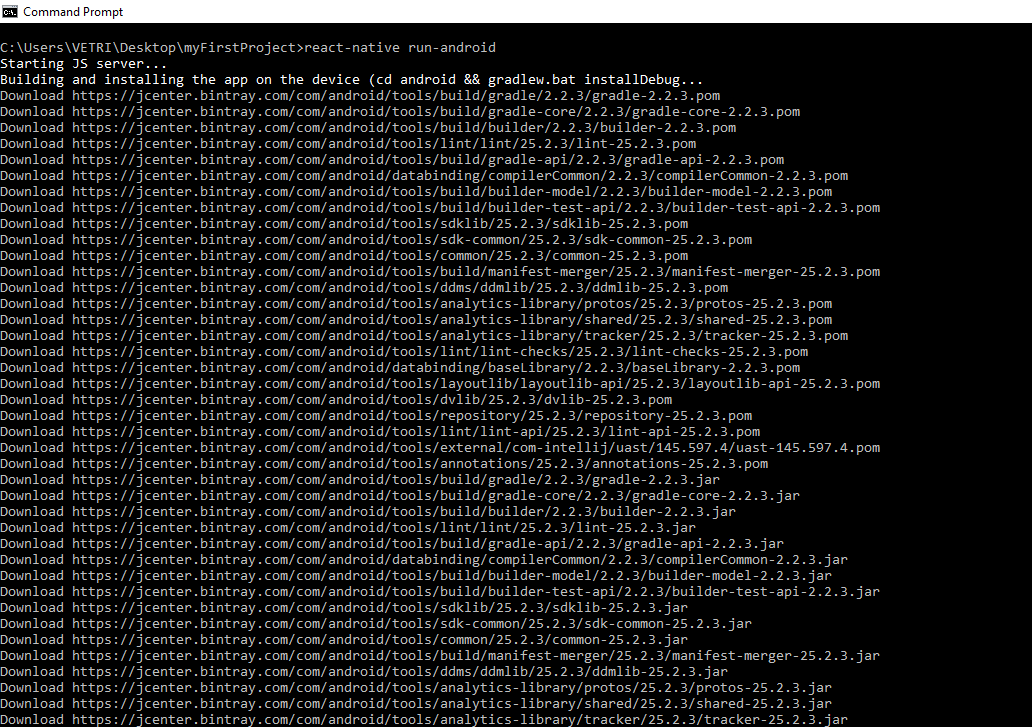
After, build the code you have to open command prompt, type react-native run-android. Its like the below image,
Then Run the emulator in Android Studio, hereafter type react-native start in command prompt. Now the Application is successfully executed. If you getting any error, feel free to comment below.